FROM THE KITCHEN
Baking Sourdough
2020: I started making sourdough during the Covid-19 pandemic (like so many others at the time). I made my own starter and was baking great little loaves of bread using King Arthur Baking’s Recipe for No-Knead Sourdough.
2021: When I moved and changed locations, I accidentally killed my starter (it happens).
2022-23: I tried and tried to create a new starter from scratch (like I had done before), but I could not get a new one to take properly. I’m not positive, but I think I needed to feed it more during the high temps, which super-charged the lacto-bacteria into super-eating machines. The by-product created something called Kahm yeast, which is not harmful but makes your sourdough starter smell and taste like moldy cheese. No. I was not a fan. But my neighbor saved my insanity by passing on a new, stronger starter that was well established and less unstable (whew!). My starter was doing much better, but my loaves were still subpar for some reason… but I kept baking and feeding that starter.
2025: I visited King Arthur Baking in Vermont and brought home their 45-year old Classic Fresh Sourdough Starter, named “GUINEVERE” (I mean, seriously… the name alone in connection with their brand had me). And now my starter is always bubbly and active, my loaves bake beautifully, and my belly is happy.
SO WHY AM I TELLING YOU ALL THIS:
To illustrate that sourdough can be unpredictable. It is a living thing made up of yeasts and bacterias, and every one is different! Even minor changes (like location, temperature, starter colonies) can influence the outcome. The best approach is to play with the process, switch starters if you must, and learn what works best for you, your starter, and those finicky lil starter microbes. Eventually you will get it!
DIRECTIONS:
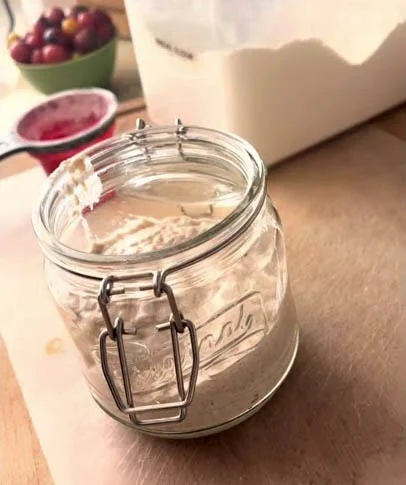
First, measure the weight of a jar in grams and make note of it for later.
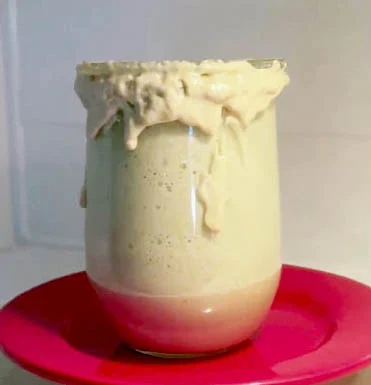
Add 50g of your starter to it, 50g whole wheat flour and 50g water. It’ll be thicker because of the whole wheat. Mix really well and give it 24 hours.
Everyday continue the same 1:1:1 ratio feed (meaning, 50g starter, 50g WW flour, 50g water) by first measuring the total weight of the starter + jar, subtract the weight of the jar, and then discard ~100g discard until you have 50g left, then add the flour and water.
DIRECTIONS:
SHAPE:
Lightly stretch all 4 sides out into an evenly thick circle. Depending on if you’re using a boule (round shaped banneton) or batard (oval shape), shape accordingly. Use group recording to review folds or YouTube; there’s tons of different ways it can be done.
Using your palms and pinky/ring fingers, gently create some tension by pulling the dough across the working space towards your body, turn, continue, until you’ve reached the shape you want and sides are tucked in.
Using your scraper, gently lift dough off your working space and upside down into the banneton (so the seam-side that was on the counter is now exposed to air inside the banneton). If the seam underneath isn’t closed, pinch the dough together all the way across (lengthwise), so it stays shut. If it won’t stay closed, don’t stress!
COLD FERMENT:
Refrigerate dough for 12-36 hours (less is okay but the less cold it is, the more likely the crust wont form super pretty. The longer is stays in the fridge, the more “sour” your bread will turn out).
BAKE:
Preheat oven AND dutch oven to 450 degrees F for about an hour (the hotter, the better). Gather a long piece of parchment paper to help lower the dough down into the hot dutch oven.
When ready to bake, remove dough from the fridge, score bread with a sharp razer, remove the hot dutch oven from the oven, carefully lower bread into dutch oven and cover with the lid.
Bake at 450 degrees for 30 minutes, remove lid and reduce oven temperature to 410 degrees F for another 10-15 minutes. The internal temperature should read 205-210 degrees F.
COOL:
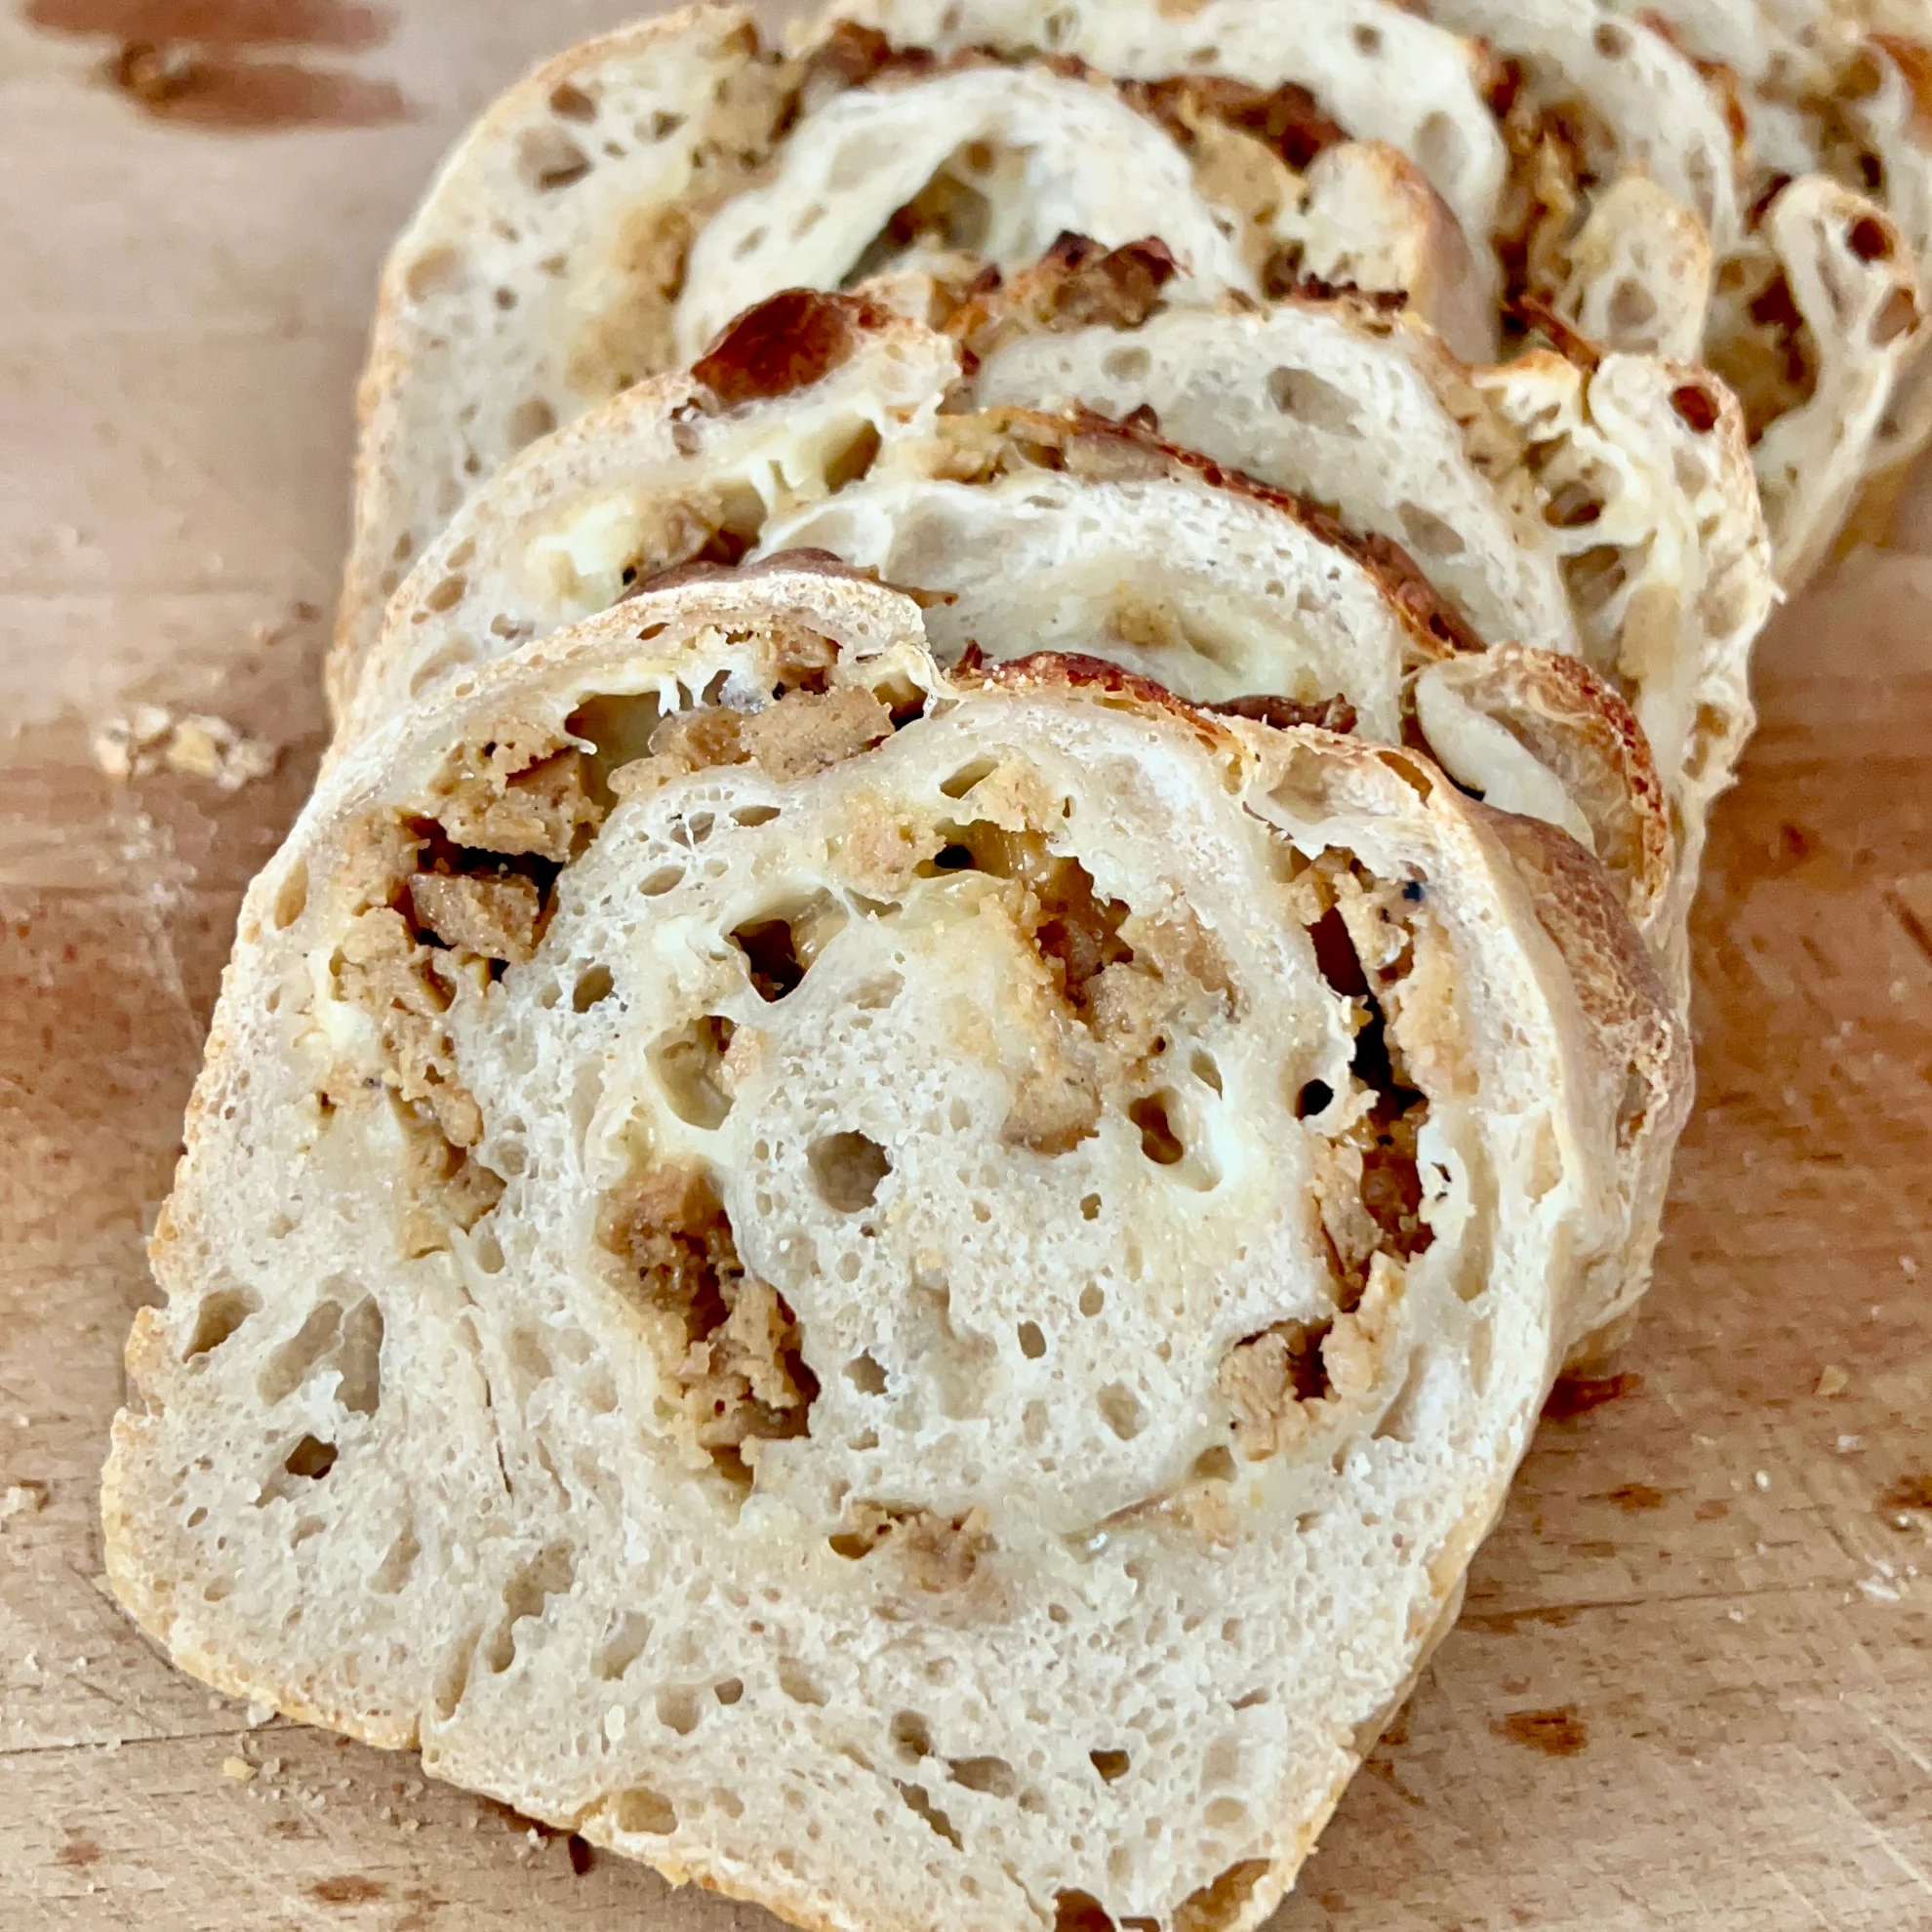
Take bread out of the dutch oven right after baking and transfer to a cooling rack (so there’s air flow underneath). Allow bread to cool completely (6 hours, minimum) before cutting! If it doesn’t cool completely, it can become gummy inside. Trust me, it’s worth it to stay patient.