A BEGINNER’s GUIDE ON
HOW TO START GARDENING
HOW TO UNDERSTAND YOUR GENERAL GARDEN Zone
- Look up your HARDINESS ZONE.
The hardiness zone map is based on the average annual extreme minimum winter temperature, displayed as 10-degree zones and 5-degree half zones. This information helps you determine when you’ll plant certain plants. - Look up your region’s FROST DATES.
Frost dates refer to the average date of the last light freeze in spring or the first light freeze in fall. You want to know your LAST FROST DATE in the Spring because that is the last projected date you *could* expect a freeze (the date is not exact or guaranteed). This is helpful because it gives you a good starting point for planting warmer season plants that cannot handle the cold temperatures. In the Fall, this is known as your FIRST FROST DATE. It is the first cold day of freezing that can kill off your warmer weather plants. - Look up your region’s PLANTING CALENDAR.
This resource is super helpful because it gives you exact planting timeframes based on variety and stage of growing in relation to the weather for your area. NOTE: I am a very seasoned gardener and I still access these dates ALL THE TIME.
Garden BUILDING AND GROWING Logistics
LOCATION MATTERS:
Before you start building a garden, these three basic items are extremely important to consider when choosing an ideal garden location:
- LIGHT / LOCATION:
Choose a location that receives at least 8 hours of direct sunlight. Plants that do not receive enough light will stretch and might grow weaker and less healthy. - SOIL TYPE:
Not every soil type is created equal. Look at your soil and figure out if you have clay soil, sandy soil, or loamy soil. One way you can determine your soil type is with a jar test… take one cup of soil and add it to a jar, filling the rest with water, and shake vigorously. Let the jar sit until everything settles and notice the different layers that form. Sand is the heaviest and will sink to the very bottom first, followed by silt, and then clay. If you are lucky, you have a good amount of al of them that make up your soil… if you are like me in the south, we have the hard, red clay everywhere. This is why I choose to build garden beds on top of the soil. You may have beautiful soil and can dig into the ground to make your beds… every location will be different.Once you understand your soil, you can better understand what amendments may be needed to either add more drainage, or add more oxygen and negate compaction, etc. As a rule of thumb, I ALWAYS add 1-2 inches of compost to the tops of my garden beds when I start planting every season. Compost is like food for your soil, and it will provide necessary nutrients and aeration for your plants.
- ACCESS TO WATER:
Plants need water to survive and take up nutrients in the soil. If your area doesn’t receive a lot of rain, you may need to consider ways to water your garden.
Here in SC I have to water my garden almost daily in our heat, so I made the investment into irrigation and hose timers because I have an outdoor water spigot available from my house. If you do not have access to running water, you will have to find other methods to collect and distribute water. Rain barrels are a wonderful investment and can be made rather cheaply. I have several of these on my property too so that I can utilize what is naturally provided whenever possible.
The next step is to decide how you want to build your garden beds:
- DIG IN-GROUND (cheapest option)
Utilize the soil you already have and dig into the earth. This will be dependent upon your soil makeup and what you have to work with. If you have to do a lot of amending of your current soil, it may be just as easy to BUILD UP. - RAISED BEDS
These garden beds sit on top of the earth and can be made from just about any material… wood, cinder blocks, to corrugated metal.If you choose to build raised beds out of wood, you also need to consider is you want to use treated would or not, to prevent rotting. There’s a lot of misconceptions out there around the chemicals used in the treatment process and I have determined that I will only use TREATED WOOD. Here are two resources in case you’d like to read more:
– “Are Pressure Treated Woods Safe in Garden Beds” by Fine Gardening Magazine
– “Can I use Pressure Treated Lumber For Raised Beds?” by Week&If you still are not convinced and would rather play it safe, you can put a liner in the bed or use something like cedar wood, which is more rot resistant (but much more expensive).
- CONTAINERS
Containers are flexible, moveable, come in many different sizes, and can make gardening quite fun. Containers offer all kinds of options for gardeners, including fabric pots that fold flat and weigh next-to-nothing (thought they break down quickly).
I suggest using this option even if you do choose another option above. I love make edible arrangements with my decorative pots that I place around my house. I also keep most of my herbs in planters on my deck railing for easy access.
HOW TO START PLANTING YOUR GARDEN
Once you have your garden location and building logistics covered, its time to GET DIRTY AND PLANT SOME PLANTS!
1. SOIL + COMPOST
Always add compost to feed your soil so the plants grow well. I do this at every planting.
2. WHAT TO GROW
This is a personal preference based on what you and your family like eating. Make a complete list of all the things you want to try growing. Don’t run out and buy seeds just yet though, because I have some helpful tips on that as well. As a beginner gardener, some items grow easier and better from seed and some may grow easier for you from plant starts. You also need to know if you are wanting to plant COOL WEATHER PLANTS or HOT WEATHER PLANTS. Here’s a quick list to reference:
COOL WEATHER
- Brassicas/Cole Crops (broccoli, cauliflower, cabbages, kales, collards, Brussels sprouts)
- Cilantro
- Lettuces
- Onions / Garlic
- Peas
- Root Vegetables (carrots, parsnips, radishes, beets)
HOT WEATHER
- Beans / Legumes
- Corn
- Nightshades (tomatos, peppers, eggplant)
- Okra
- Squashes (zucchini, butternut, padi pan)
- Most herbs: basil, dill, oregano
EVERY GARDEN NEEDS THESE ITEMS
- Soil / Compost
- Seeds (what do you want to grow? What will you eat?)
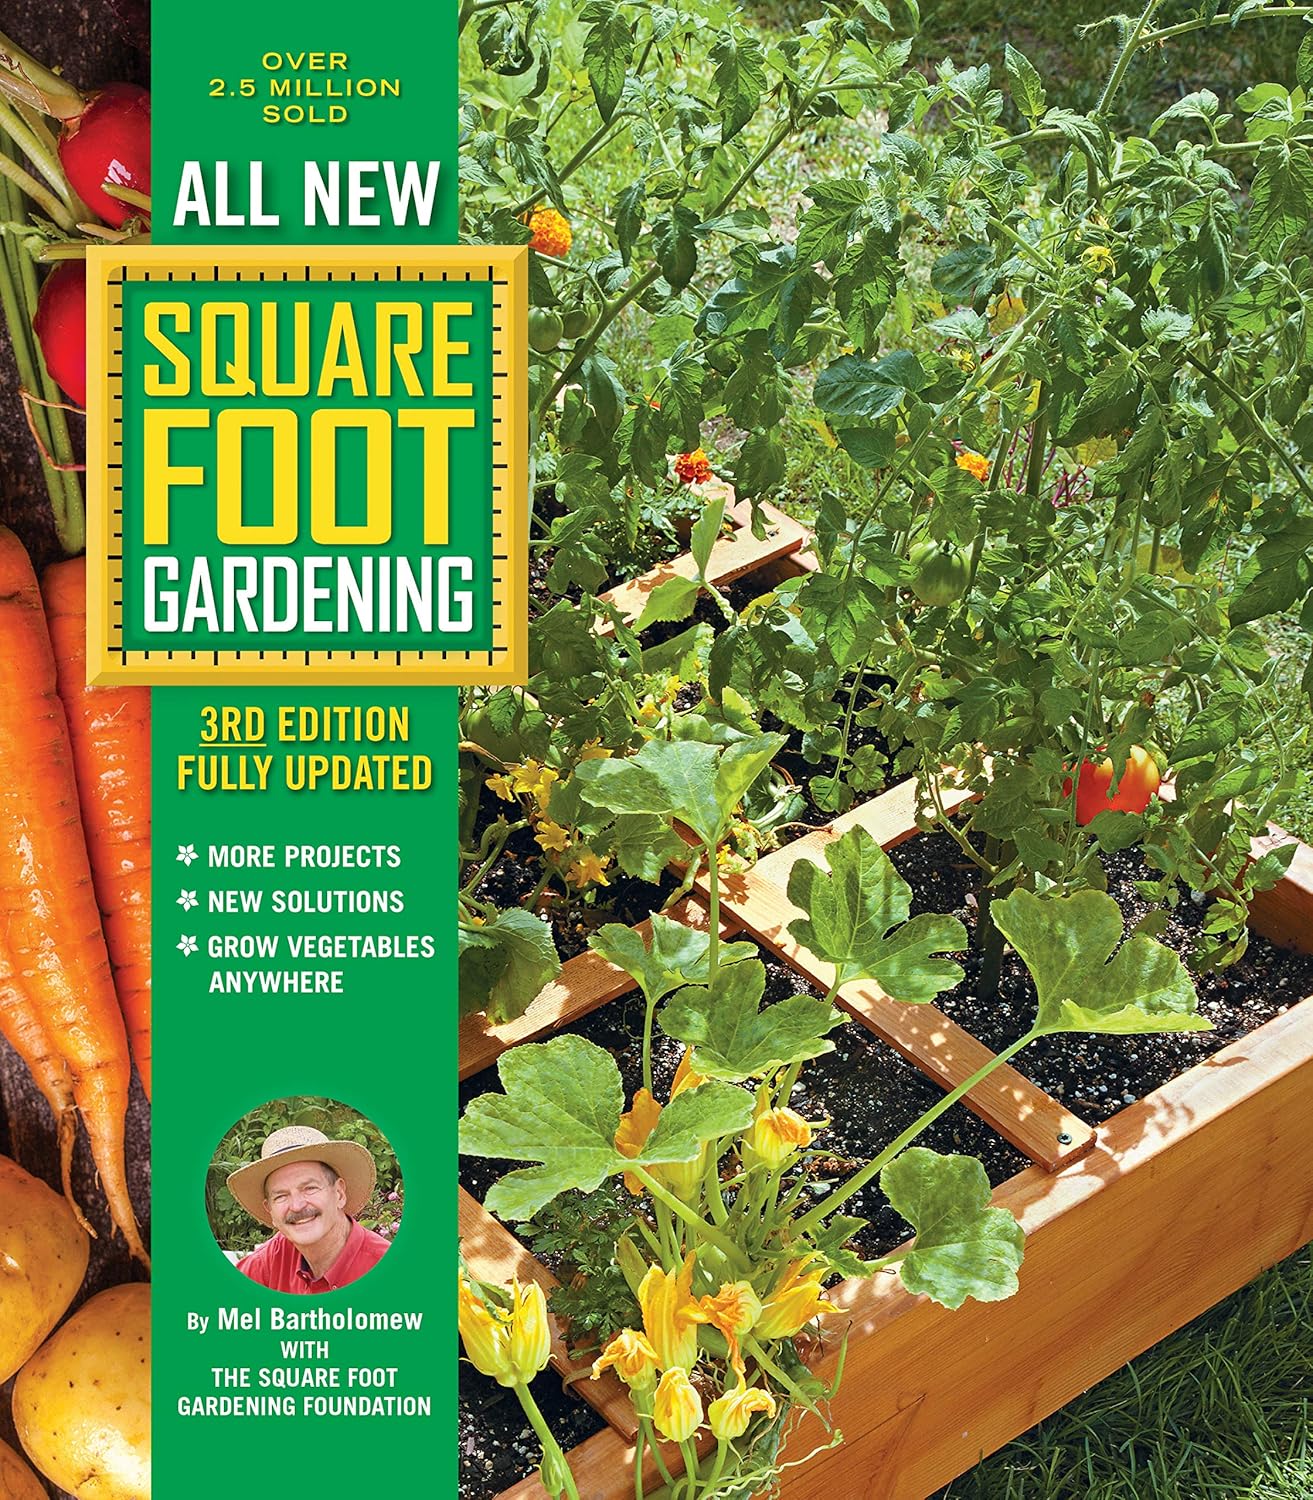
- Spacing (Square Foot Method to start)
- Water
- Wait
BUILDING YOUR GARDEN SPACE
QUESTIONS TO CONSIDER:
- How big of a garden space do you want?
- How big is the space you have?
- Does the area get around 8 hours of sunlight?
- Does the garden receive any shade? During what times of day?
- Do you need to build a garden bed or dig for in ground?
- What is the soil like?
- Do you need to get soil or amendments to fix the current soil?
- What is the drainage like?
ARTICLES:
- Is Pressure Treated Wood Garden Safe? (from Fine Gardening)
- Can I Use Pressure-Treated Lumber? (from Week&)
- Seed Saving Techniques (from Sow True Seed)
- Soil Amendment Cheat Sheet
